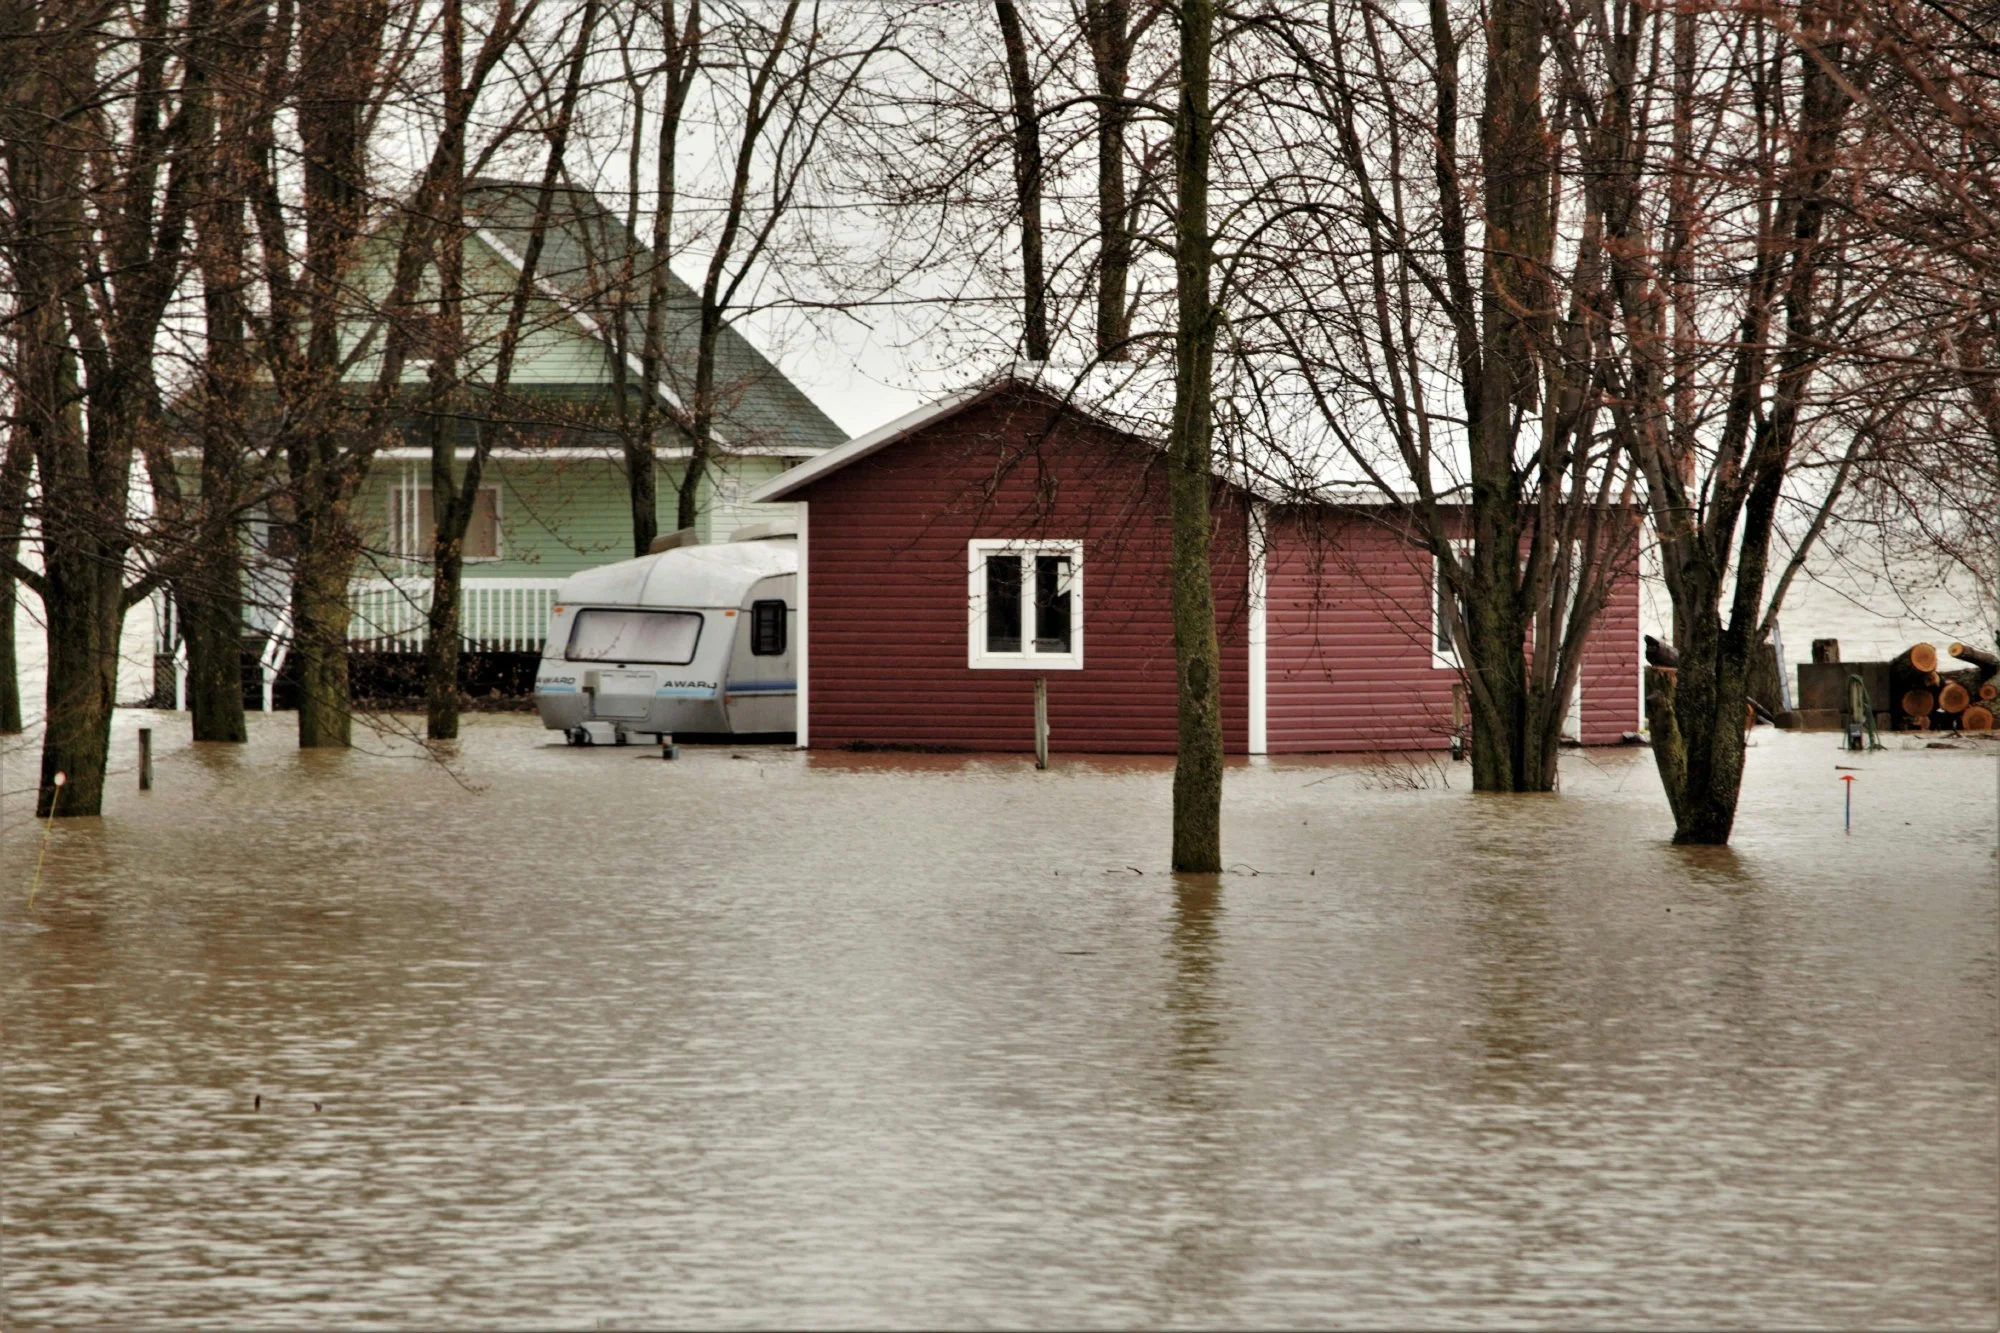
Because the type and extent of water damage vary from property to property, the rebuilding process will look different for everyone. While there’s no one-size-fits-all approach, understanding the common steps involved in a standard water damage rebuild can help set expectations and ensure a smoother recovery.
Before any rebuilding can begin, several crucial steps must be completed. These preliminary actions are essential parts of the claims process and can significantly increase your likelihood of receiving a fair and accurate settlement from your insurer.
Water Damage Rebuild Timeline
1. Inspection and Damage Assessment
Once the property is safe to enter, a professional inspection is conducted to assess the full scope of the damage. This includes identifying affected materials, testing for moisture levels, and documenting all visible and hidden issues with photos and written reports. A thorough assessment ensures that no damage goes unnoticed and helps support your insurance claim.
2. Water Extraction and Drying
The next step is removing standing water using industrial pumps and vacuums. After extraction, dehumidifiers and air movers are strategically placed to dry out floors, walls, and structural components. Proper drying helps prevent mold growth and further deterioration of building materials.
3. Cleaning and Sanitization
Once the property is dry, all affected areas are cleaned and sanitized. This step includes removing debris, treating surfaces to prevent mold and mildew, and deodorizing to eliminate any lingering odors caused by water or bacteria.
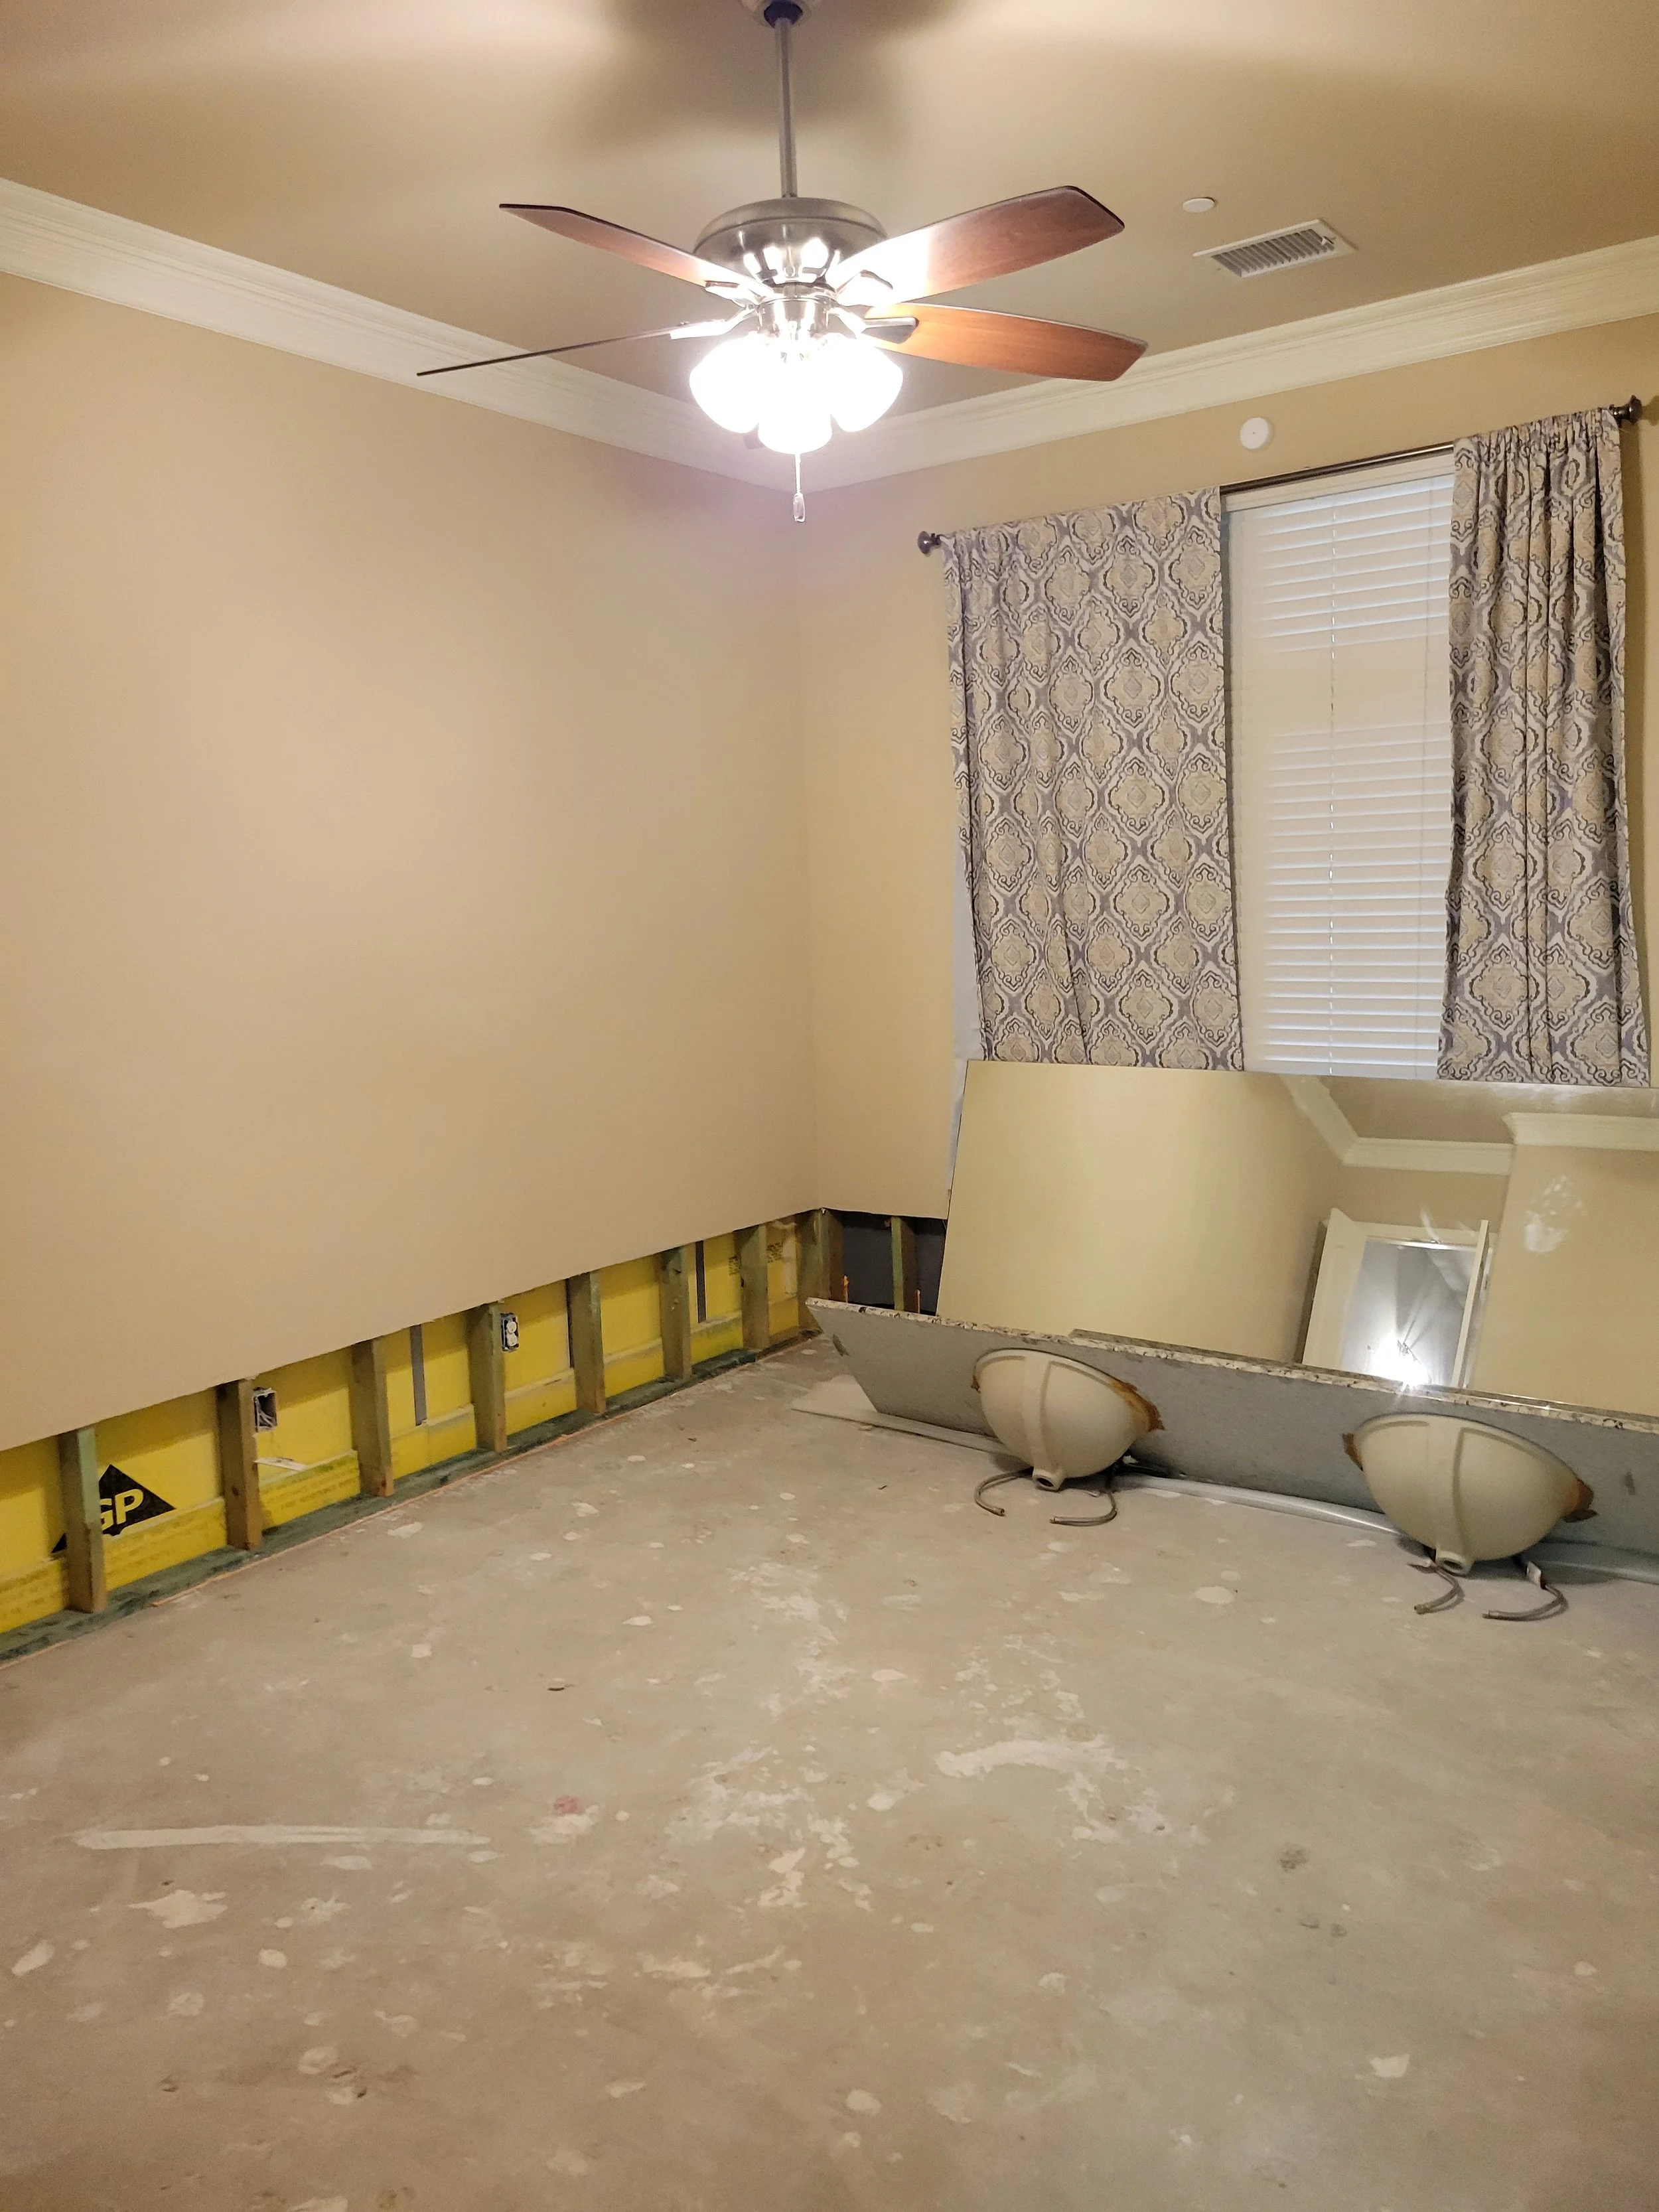
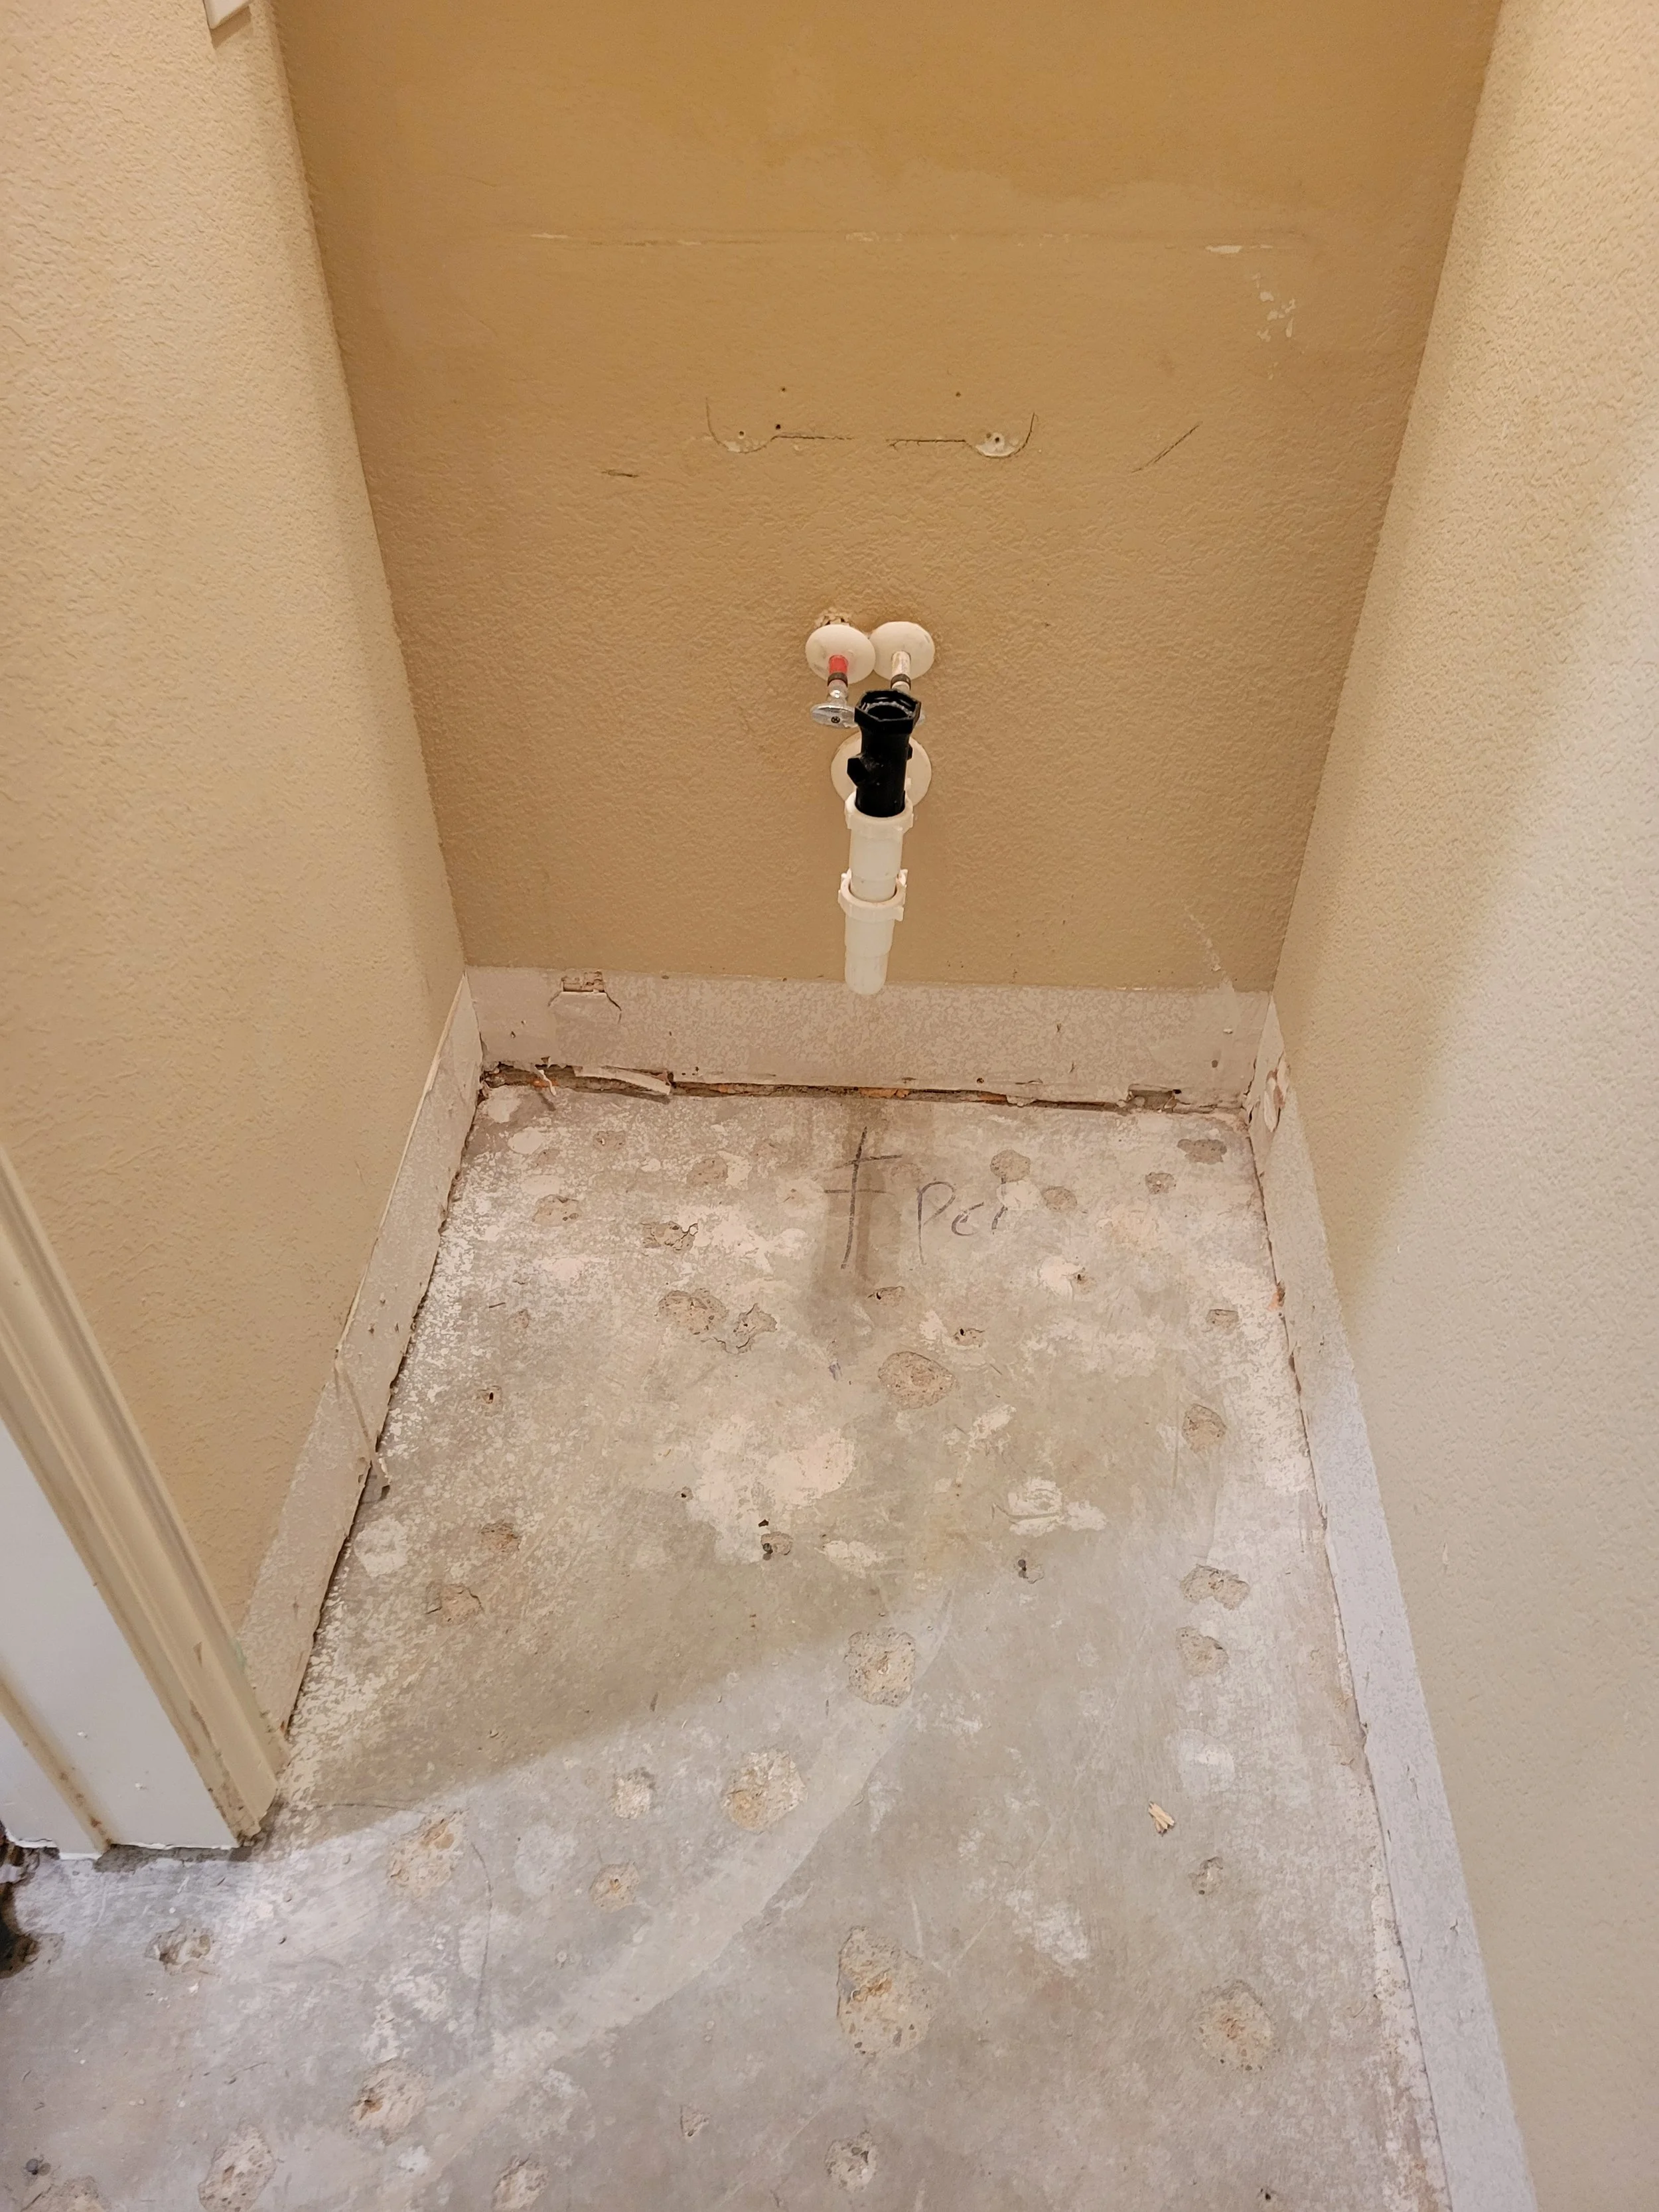
4. Demolition and Removal of Damaged Materials
In many cases, portions of drywall, flooring, insulation, or cabinetry may be too damaged to salvage. These materials are safely removed to prepare the area for reconstruction. This stage also provides another opportunity to document losses for your insurance claim.
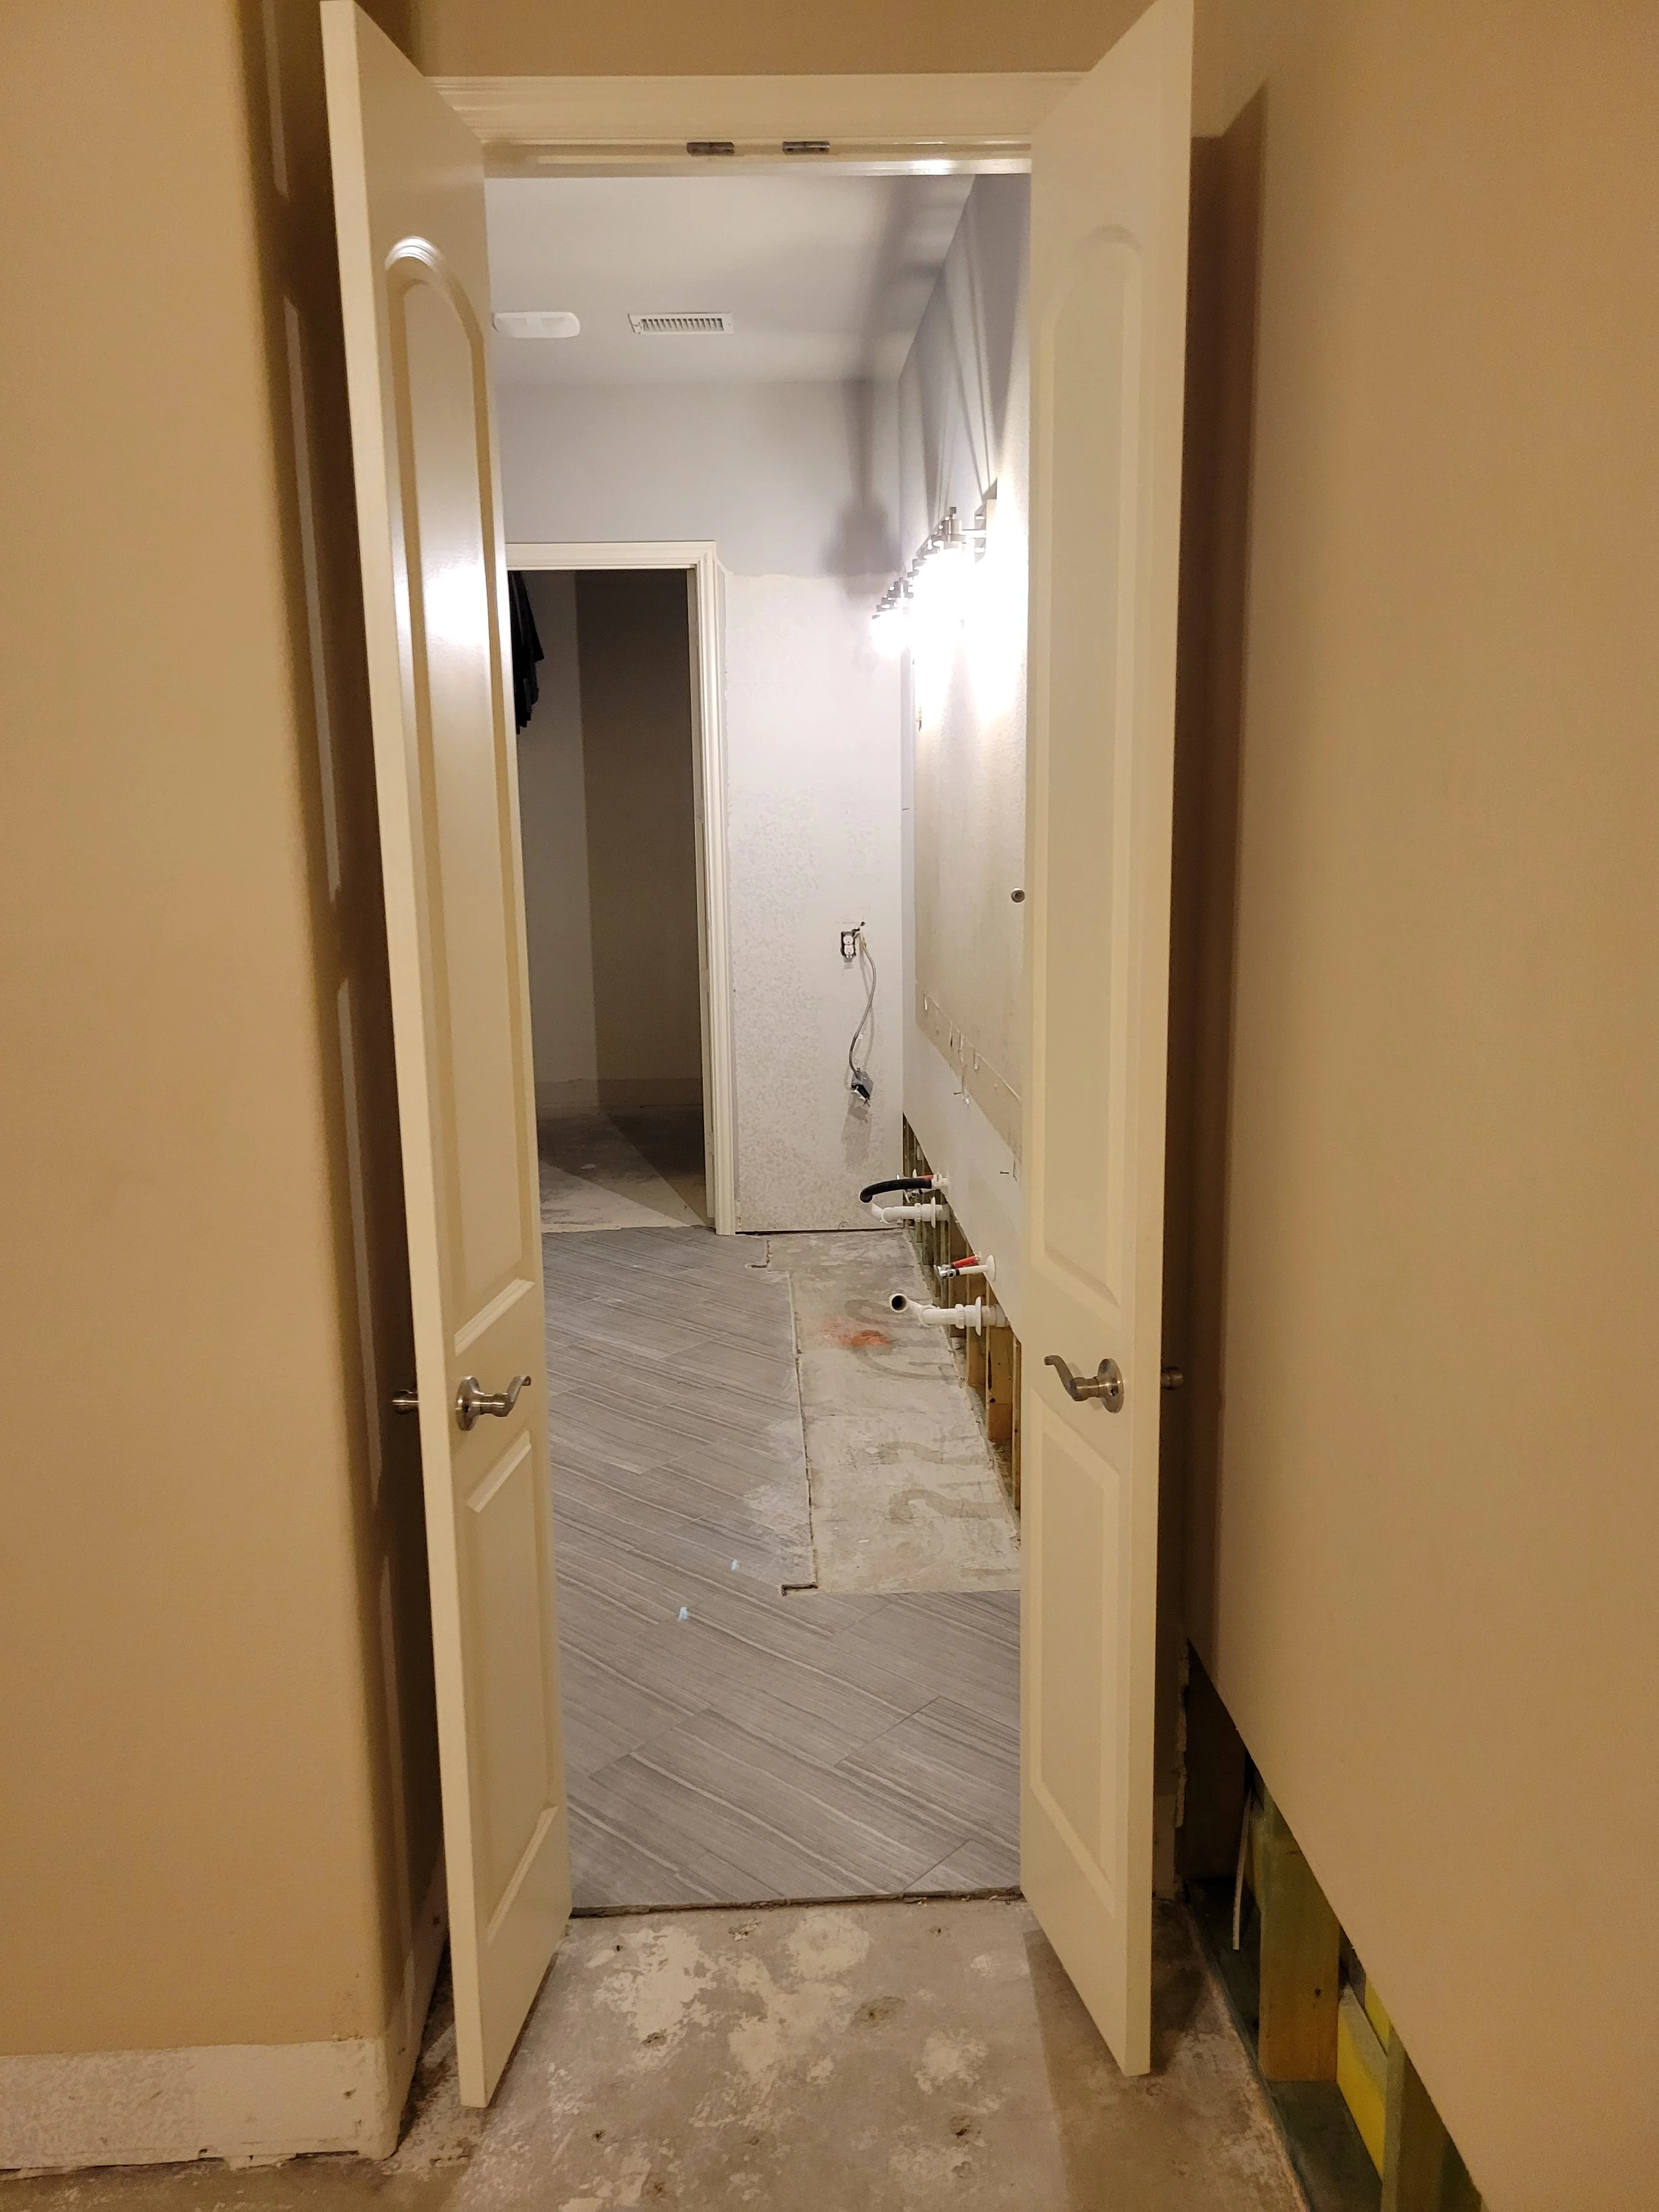
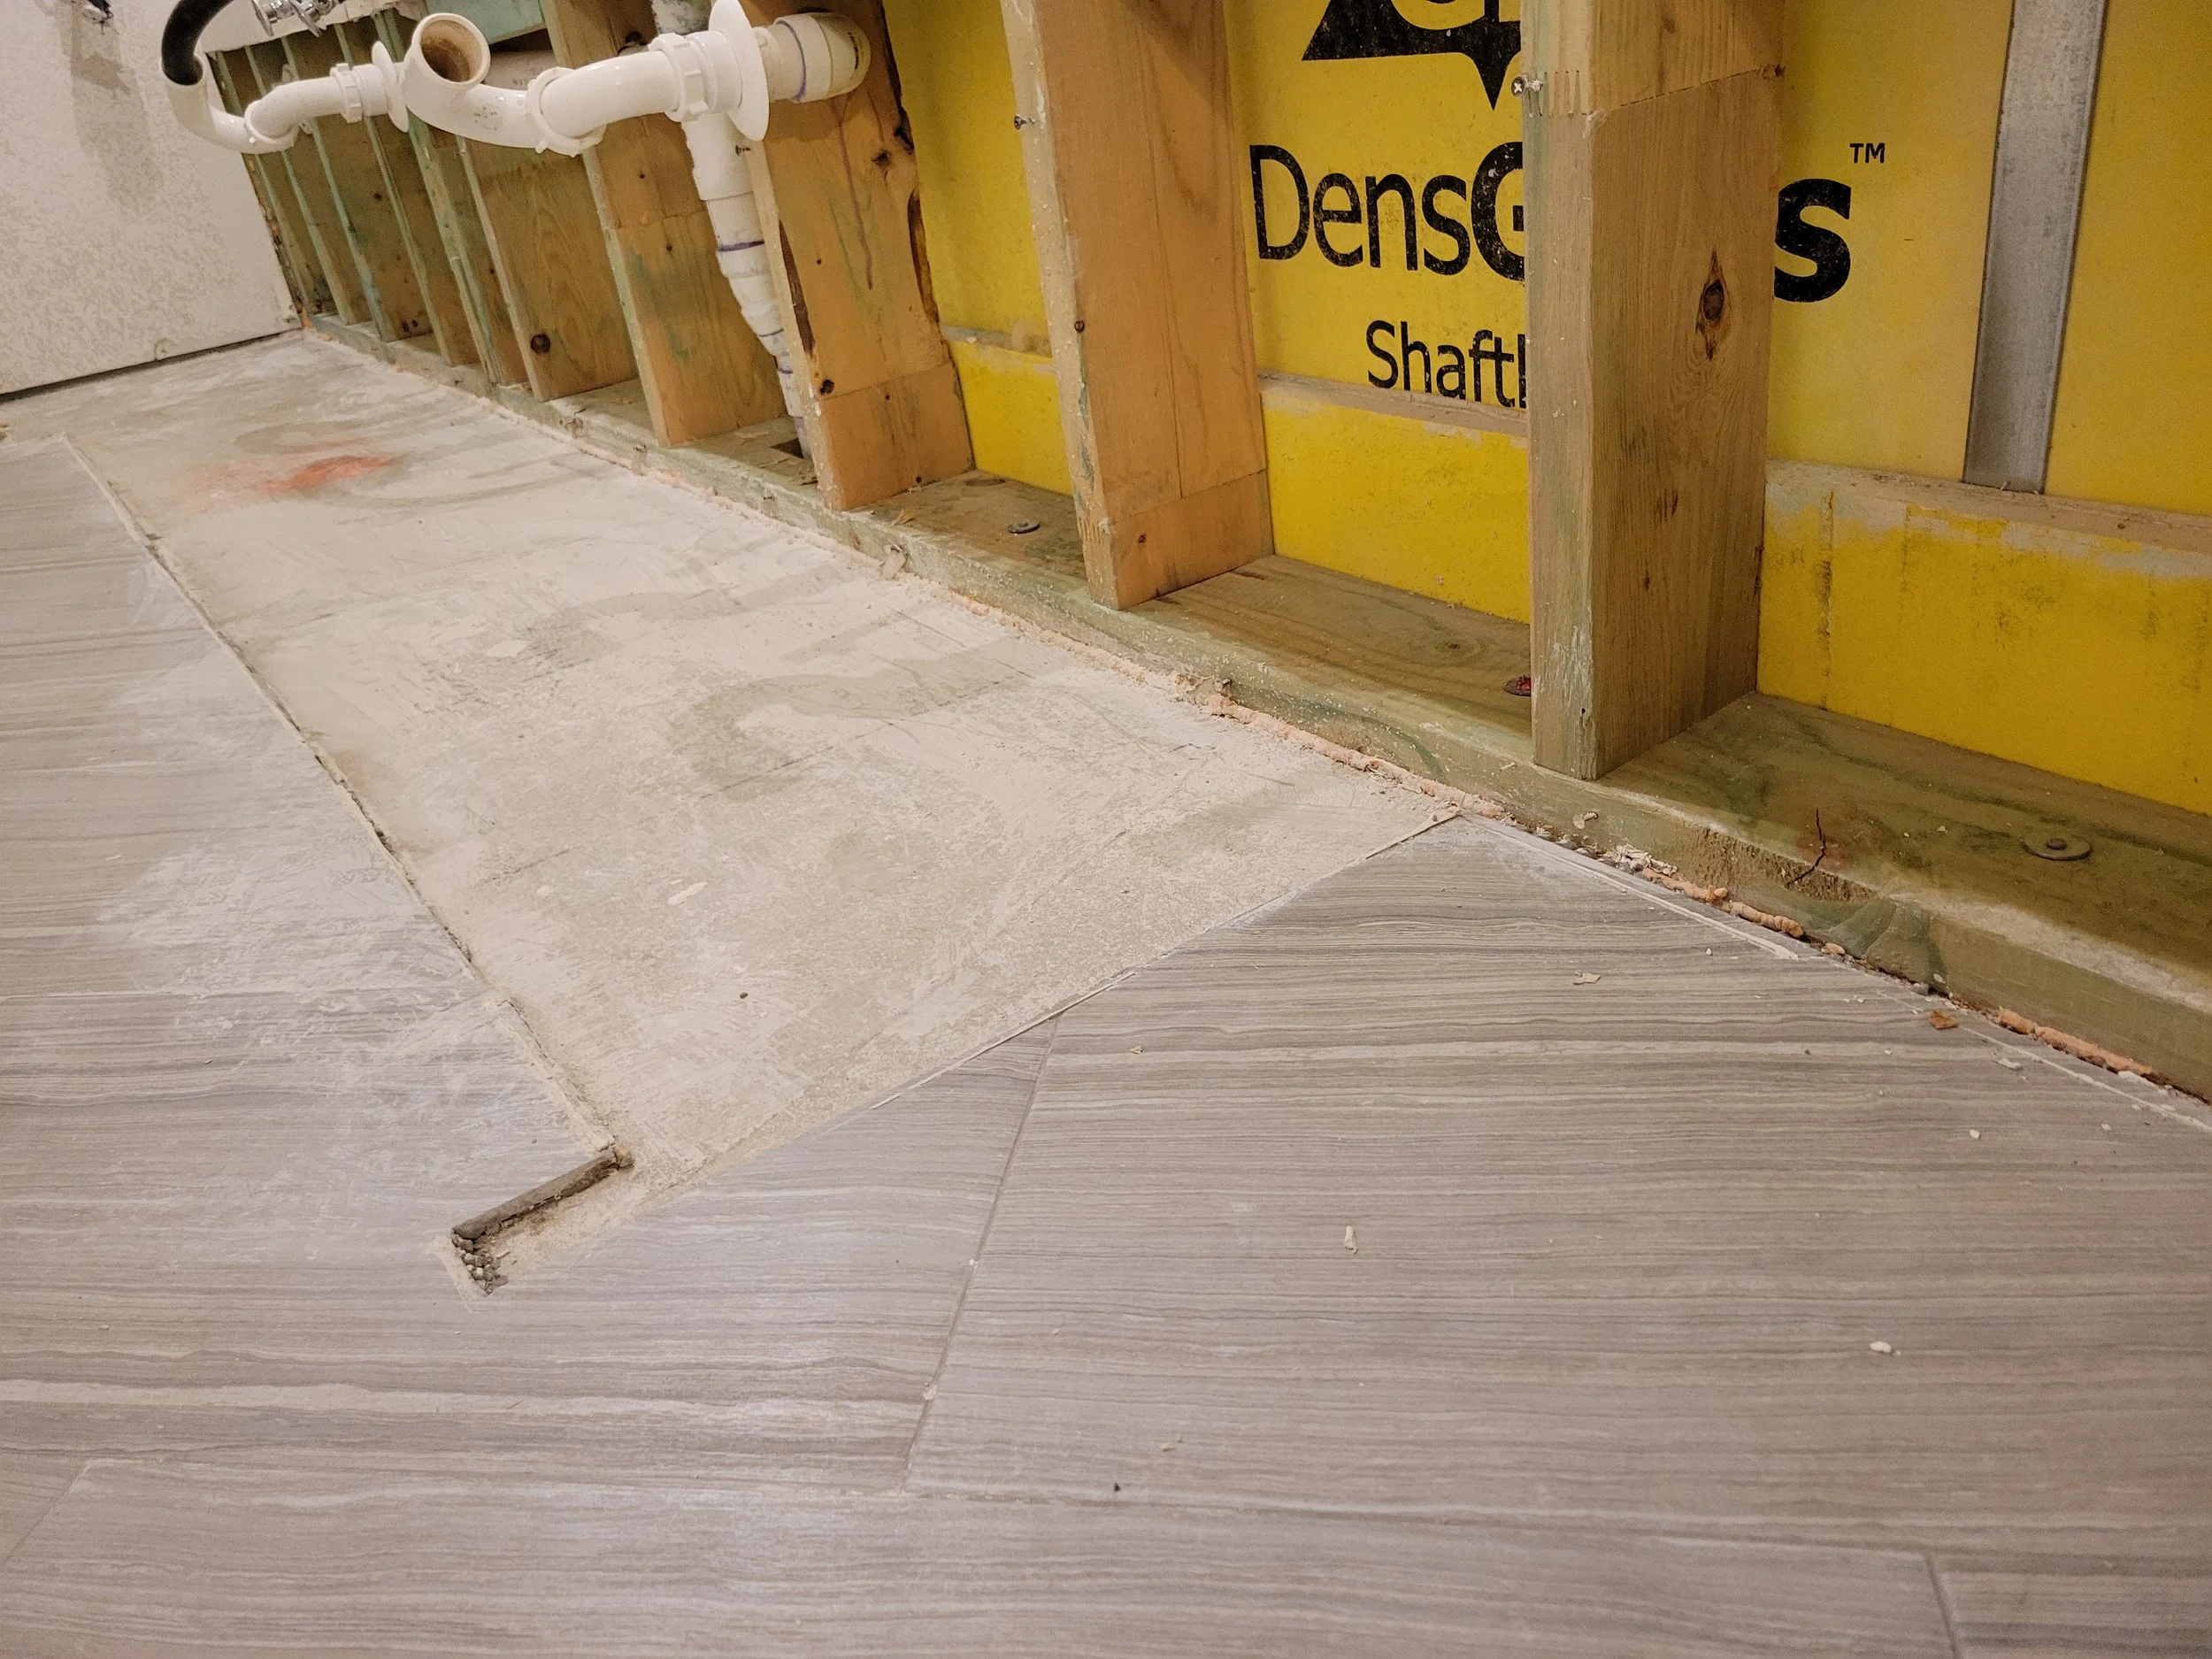
5. Structural Repairs and Rebuilding
After cleanup and demolition, the rebuilding process begins. This may include repairing framing, replacing drywall, flooring, insulation, electrical systems, and other structural components. The goal is to restore your property to its pre-loss condition—or better—while ensuring compliance with current building codes.
6. Final Inspection and Quality Assurance
Once all repairs are complete, a final walkthrough and inspection are conducted to ensure the rebuild meets safety standards and quality expectations. Any final touch-ups or adjustments are addressed at this stage before the property is fully restored and ready for occupancy.
Insurance Tips for a Successful Claim
Document everything: Take photos and videos before, during, and after cleanup.
Keep receipts: Save all invoices for temporary housing, repairs, and replacements.
Communicate frequently: Stay in regular contact with your insurance adjuster and provide requested documentation promptly.
Work with professionals: Hiring licensed contractors and experienced public adjusters can help ensure the damage is properly assessed and compensated.
We Work for You—Not the Insurance Company
Claim Settlement Advocates, LLC, based in Dallas, TX, is a team of licensed public adjusters with a combined 100 years of experience dedicated to securing maximum insurance claim settlements for homeowners, business owners, and property managers facing property damage from disasters such as fire, storms, floods, and business interruptions.